One of the most requested feature is ability to create custom fields for tasks. Many advanced customers requested the functionality, and we are happy to announce that Custom Fields are now officially out of the beta and is a stable production-ready feature.
What are Custom Fields?
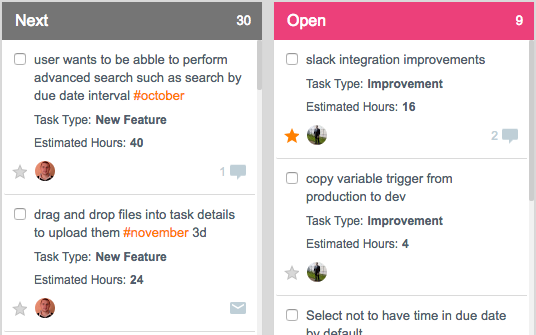
Custom Fields are great way to extend Yanado and to adjust it to your needs. You can use Custom Fields to add additional info to tasks such as (1) Estimated Time – how much time you think you need for a task, (2)Billable Hours – the actual number of hours you can bill your customer for a task, or (3) Deal Value – for salespeople to show how much revenue is generated from a task etc.
There are countless use cases for Custom Fields which we will continue to write about in our blog.
What types of Custom Fields are available?
Basic types of custom fields are available and we will add more as we gather more feedback about customer needs.
Here’s the list of supported field types at this moment:
- Single line text
- Number
- Checkbox
- Multi line text
- Date
- User
- Dropdown
How do I create a Custom Field?
To create a new custom field follow these simple steps:
- Open list settings
- Navigate to Custom Fields tab
- Click on Add new
- In the dialog box that will appear, enter name of the custom field which will appear on the task details
- Select type of the custom field
- Select whether you want to be able to see the value of the custom fields while you are in Card and List view.
- Click on the CREATE button to save it.
Hope you will enjoy this new feature, and please let us know how we should improve it.